

This tutrial is written by me using PSP 10 and Animation Shop 3
Any similarities to other tutorials is purely coincidental and unintentional.
All materials and tubes used are copyright to their respective owners.
Supplies
My Chocolaty Pink kit here
Licensed artist work is by Suzanne Woolcott
Plugins used
Alien Skin Eye Candy 5: Nature
Alien Skin Eye Candy 5: Impact
Font of choise, I've used Gloria Script
Lets Start
Open a new image 600x600 flood fill white
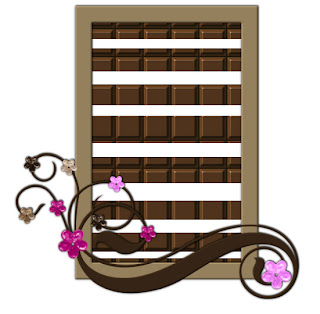
Add your frame of choise, (resized mine to 80%)
Make a selection inside the frame add your chocolate
paper of choise (I chose the light one, my weakness, lol ;) add it ass a new
layer below the frame, selection - invert, then hit delete.
You should now crop the tag to remove the acces of the paper
that we don't see so you don't get in trouble with it when we animate ;)
Duplicate the paper layer
on the top one make some random square selections and hit delete so the paper
looks something like shown below
Deselect and duplicate the layer 2 times
Add Alien Skin Eye Candy 5: Nature - Drip
Choose the Small, Fat Drips Setting for the first one
On the other 2 just hit the Random Seed button .
Make a selection below the frame so you can delete the access
dripping chocolate sticking out on all 3 layers
(or as I'd like to say, just lick it off, LOL, I wish )
Now you just add all the stuff you'd like to it
I colored the wordart and gave it a double colored glow
insing alien skins Eye candy Impact - Gradient Glow
When you're happy with your tag
add some drop shadows, I used -1, 1, 70, 3 on most parts.
Add the proper ©
Then we're ready to animate, see to it that you only have one of the
dripping layers open, copy merged (Ctrl+Shift+C)
Paste as new animation in ani shop 3
Undo in PSP open the next dripping layer, closing the used one
copy merged again, paste after current in ani shop
do the same to the last dripping layer.
Select all 3 frames in ani shop, change frame properties to 20
animate and save.
And you're done!!
Thanks for trying it out, and hope you've had fun!!
I'd love to see what you've made of this.
Tutorials are © Tutorials by Vaybs
Tutorials are © Tutorials by Vaybs
No comments:
Post a Comment