This tutrial is written by me using PSP 10 and Animation Shop 3
Any similarities to other tutorials is purely coincidental and unintentional.
All materials used are copyright to their respective owners.
Supplies
Scrapkit is an FTU called Hallows Eve
by Jessica Woods at Gothic Inspirations here
Thank you so much for sharing hun!
I'm using the artwork of © Keith Garvey
To use it you gotta purchase a license through MPT here
Plugin used Alien Skin Eye Candy 5: Impact
Font used is Symphony
Let's start
Open a new image 600x600 flood fill white.
Add the spiderweb, then the Haunted1 Tag, resized 60%
Add the Tree1, resize 20 % move it to the left and drag the layer behind
the web layer. Duplicate it 2 times, drag one to the right and one
up on the left side;)
Add skeleton2 above the web layer, resize it 60%, use the pick tool (K)
to move it up to the right and rotate it a bit to the right
so just the head and the hand is showing.
That should be it behind the Tag let's move to the top.
Add the 2 ghosts, resize 30%, move one to the left and nr 2 to the right.
Add the Caution tag, resize 30%, move it to the right.
Add the Spooky Sauce, resize 12%, rotate 90 to the right and
put it on the left front of the tag.
Add the book, resize 20%
Add the single candle, resize 45%
and finally add your tube of choise to the right.
Remember the proper ©.
Add drop shadows to all the elements, exept the ghosts.
I'm adding my name later in Ani Shop cos you will wanna
give it away as pressies.
Then
It's time to start Animating :))
Close both ghost layers and copy merged (use CTRL+Shift+C
(on your left side of the keyboard),
If you're not used to using it, then try it and you'll find it'll open up
a whole new world when it comes to animating,
it makes the job sooooo much easyer and fun, you don't have to
undo anything and you can just move the ghost along ;))
Enough about that, lol, back to the job at hand.
Paste it as a new animation in Ani Shop
back in PSP open the ghost to the right put it below the sign so just a tip
of the hood is showing (make sure none of it is sticking out on the side
or below the sign), copy merged (CTRL+Shift+C)
Paste after current in ani shop.
Back in PSP move the ghost up so you see the head above the sign
copy merged and paste after current.
Back in PSP move the ghost it a little bit more up and to the left
I made sure the hood stayed inside the circle background the shole time.
copy merged again and do this until you have the ghost dissapearing
behind your tube of choise. Use the eraser tool to delete some of the ghost
if it stickes out on the left of your tube, cos we don't want it to appear
again on the left side of her ;) ( I duplicated it and closed the original,
before I deleted anything on the left of her)
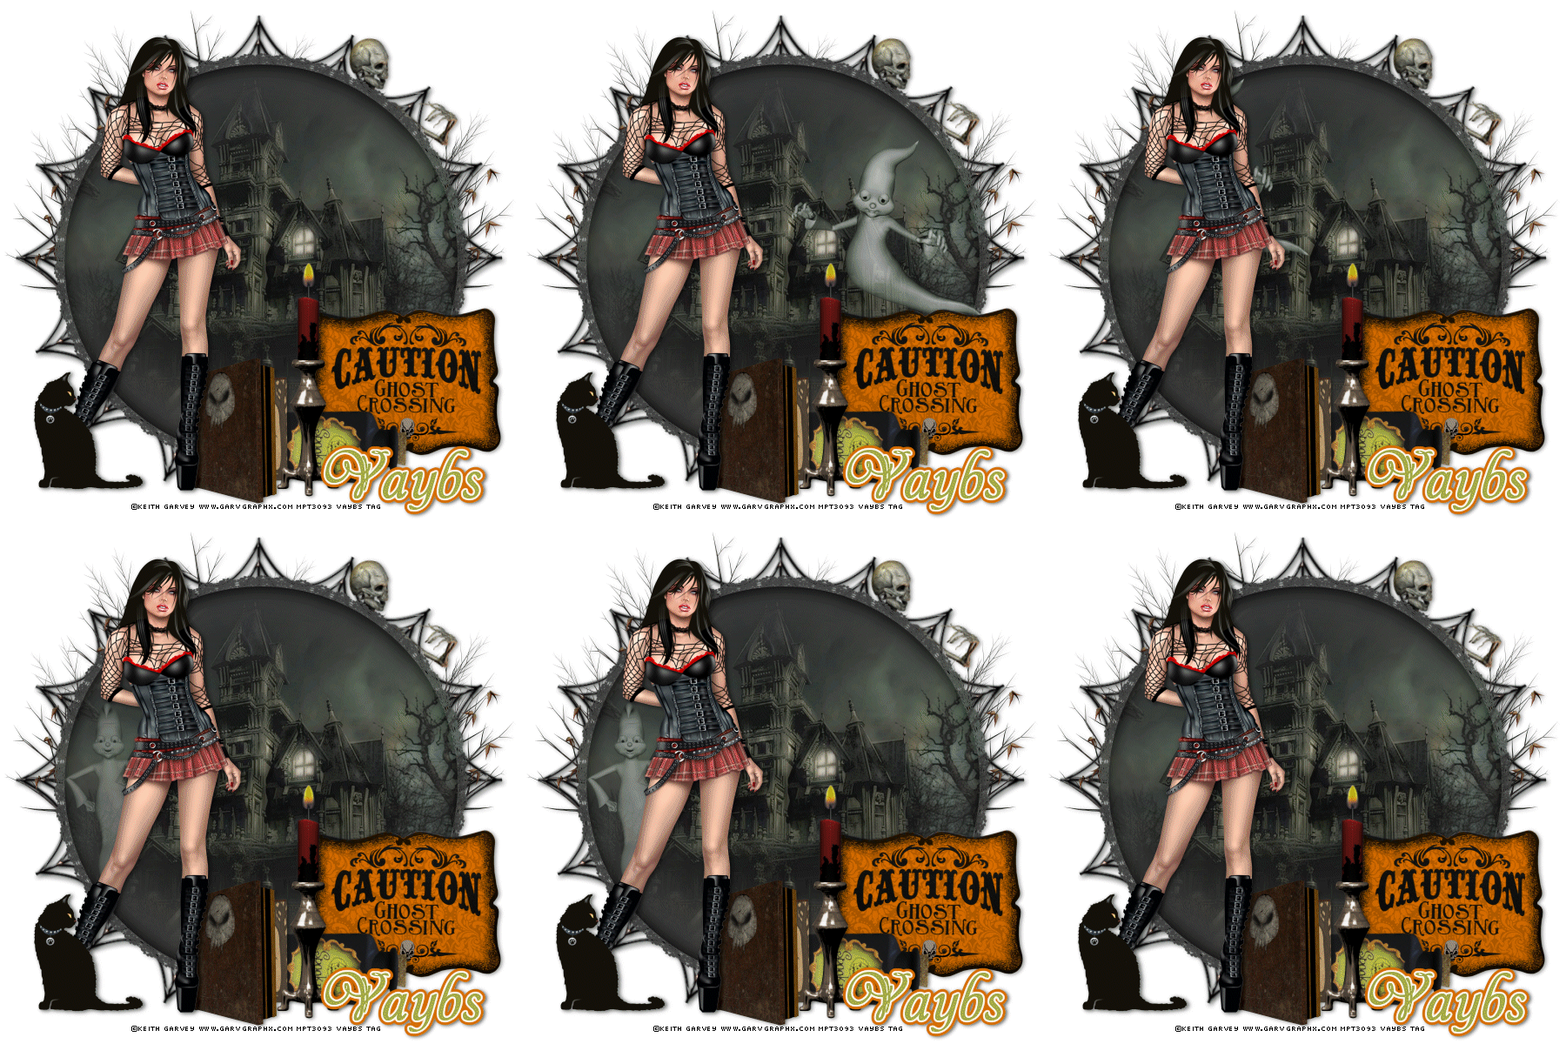
All in all my ghost trip took 9 frames (10 counting the first ghost-free one)
, you might get more or less, no worries;)
After you've added the frame with the last little bit of the ghost at her right side,
then Select all frames (Ctrl+A) right click and make Frame Properties 35
Now copy your first frame again (the ghost-free one) paste after the last
frame. Right click and make frame properties 150.
Back in PSP, close the ghost layer we've finished animating,
and open the ghost to the left, copy merged.
Paste after current. Then copy the ghost free frame again and paste
as the last frame. (I had 13 frames by now)
on the last one you also make sure frame properties are 150 ;)
Go to the ghost free frame before the ghost to the left (my third last frame)
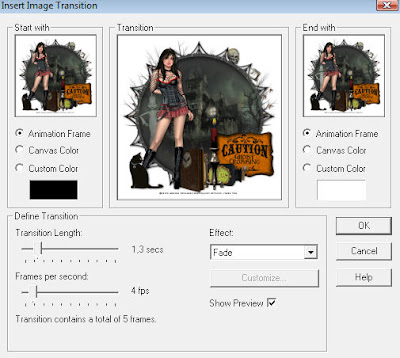
right click and choose Insert Image Transition
with these settings :

Add the same Image transition to the next layer too
(the one with the ghost to the left;) (my total is 23 frames)
Then test out your animation, does it look right??
If not here are my frame properties if you have the same number
of frames as me ;)
Frames 1-10 =35
Frame 11 = 150
Frames 12-22 = 10
Frame 23 = 150
if you wanna save it to add names later, select all (Ctrl+A)
copy (Ctrl+C)
in PSP Ctrl+V, then save as psp
Add a name to the original in PSP give it double gradient glow
using Alien skin , if you like ;)
add a drop shadow 1,2,60,6. copy it.
paste as new animation in Ani shop, hit paste after current until you
have as many frames as you have on your tag :)
Select all and copy
on your tag, select all and Ctrl+E then place the name where you want it
animate and save ;)
And you're done :)) Hope you've had fun!!
And congratulations on a new tag :))
Tutorials are © Tutorials by Vaybs
And congratulations on a new tag :))
Tutorials are © Tutorials by Vaybs


Thank you so much for working with my kit, you have done a beautiful job on the tut and taggie! And your tuts are written so every level of PSP users can understand, I love that. Following you too! Hugs, Jessica
ReplyDeletehallo vays
ReplyDeletewow what a great tutorial!!
and offcourse a great kit by jessica!
when i have some time i am gonna make this
great tutorial!
greetings Gerda from holland